Setting up the Java Development Kit (JDK) in Visual Studio Code (VS Code) without explicitly configuring the JAVA_HOME environment variable is possible. Here’s how you can do it:
VS Code Settings:
- Open your VS Code.
- Go to File → Preferences → Settings.
- In the search bar, type
java.home. - You’ll find an option called
java.homein the settings. By default, it points to the JDK folder (e.g.,"C:\\Program Files\\Java\\jdk1.8.0_161"). - Update this setting to the path where your JDK is installed. For example, if you have JDK 14 installed, set it to
"C:\\Program Files\\Java\\jdk-14.0.2".
Alternative Approach (Deprecated):
- Previously, the setting was simply
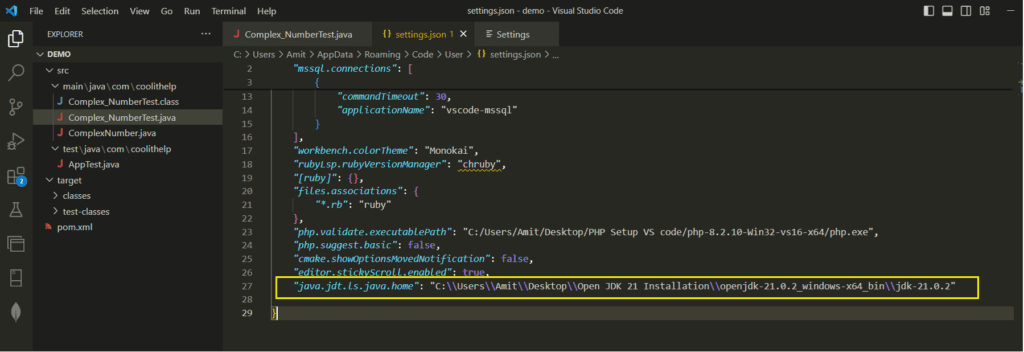
java.home, but it has been deprecated. If you’re using an older version of VS Code, you might still find this setting. However, it’s advisable to use the updated setting mentioned above. - If you encounter the deprecated setting, change it to
java.jdt.ls.java.homeinstead ofjava.homein yoursettings.jsonfile.
Locating settings.json:
- To find the
settings.jsonfile:- Click on the gear icon in the top-right corner of the settings panel.

- Select “Open Settings (JSON).”
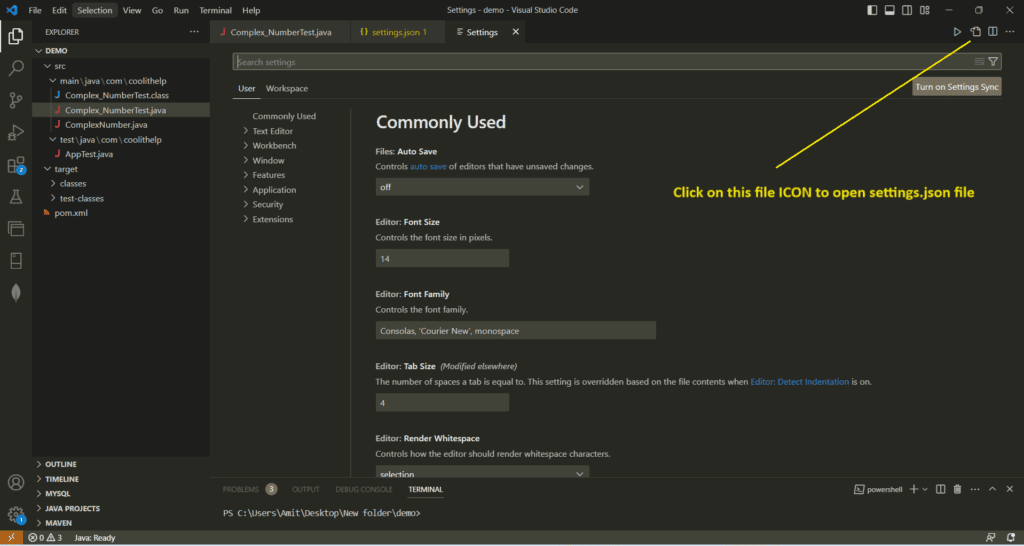
- This will open the
settings.jsonfile where you can make the necessary changes.
Remember that the java.home setting in VS Code takes precedence over the system environment variable. Once you’ve updated this setting, VS Code will use the specified JDK for its Java-related features. Happy coding!
Your blog is a testament to your passion for your subject matter. Your enthusiasm is infectious, and it’s clear that you put your heart and soul into every post. Keep up the fantastic work!